Science project
Upside-Down Plants

Grade Level: 3rd - 6th; Type: Biology
Objective:
To find out whether plants are affected by growing upside-down.
The purpose of this experiment is to learn whether plants are still able to grow normally if they are turned upside-down.
Research Questions:
- What is the purpose of a plant’s roots?
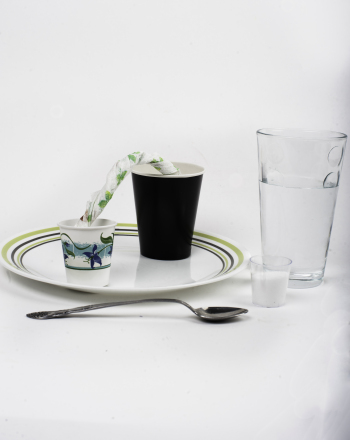
- How does a plant determine which way is up when it germinates?
- How does a plant sense the location of the sun?
- Do plants move to face the sun?
- How do plants create energy?
Plants are designed to grow with their roots in the ground and their stems pointing up towards the sun. This makes logical sense for a plant because they require sunlight to hit their leaves in order to photosynthesize. Growing towards the sun ensures that plants will receive the light they need. In recent years, upside-down planters have become popular in home gardens. Tomatoes are usually planted in these upside-down containers, which allow the home gardener easy access to their crop. Growing plants upside-down may affect their ability to produce vegetables, however, as the plant must invest a lot of extra energy in righting itself and determining the direction of the sun.
Materials:
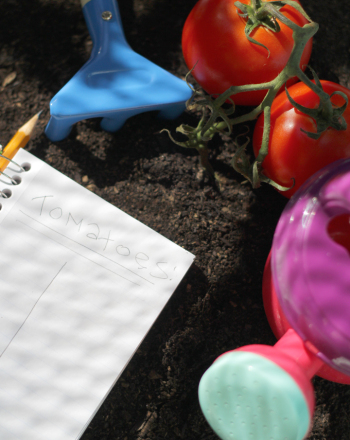
- Seeds (Tomato seeds work well because they grow quickly and are hardy. Look for seeds that mature in less than 60 days.)
- Containers
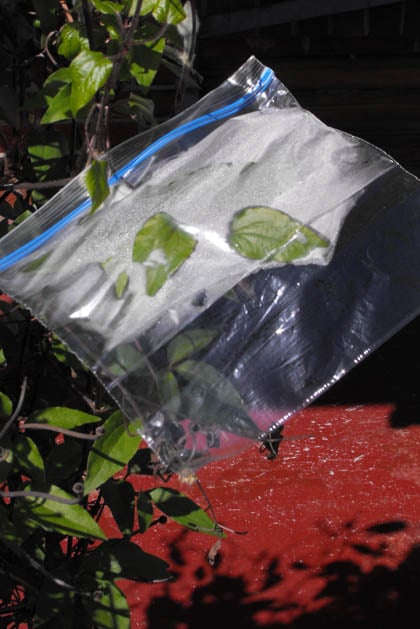
- Covers for the containers (old snap ware containers work well)
- A wooden frame the same width as the containers (so the containers can be balanced upside-down over it).
- Scissors
- Potting soil
- Water
Experimental Procedure:
-
Fill the containers with soil.
-
Label the containers “Day 1,” “Germinate,” “Right-side-up”
-
Cut ½ inch holes in the lids of the containers.
-
Plant the seeds in the containers.
-
If you need to construct your own frame, the design at the bottom will help.
-
Place two of the containers right side-up on the frame.
-
Place the third container, labeled “day 1” upside-down on the frame.
-
Water the plants daily. You can cut holes on the other side of the upside-down containers or turn them right side-up for watering.
-
After the seeds germinate, turn the container labeled “Germinate” upside-down.
-
Care for the plants until they begin to yield fruit. At that time, record the size of the fruit and the number that you collect from each plant on a chart such as the one below. Make sure you pick fruit after they are very ripe.
|
Which plant
|
weight of fruit
|
number of fruit from plant
|
|
day 1
|
100g
|
1
|
|
day 1
|
110g
|
2
|
|
germinate
|
90g
|
1
|
|
day 1
|
85g
|
3
|
|
control
|
112g
|
1
|
Sample of wooden frame
Terms/Concepts: Germinate; Growth; Photosynthesis; Roots; Stems; Leaves; Flowers; Fruit
References:
Education.com provides the Science Fair Project Ideas for informational purposes only. Education.com does not make any guarantee or representation regarding the Science Fair Project Ideas and is not responsible or liable for any loss or damage, directly or indirectly, caused by your use of such information. By accessing the Science Fair Project Ideas, you waive and renounce any claims against Education.com that arise thereof. In addition, your access to Education.com's website and Science Fair Project Ideas is covered by Education.com's Privacy Policy and site Terms of Use, which include limitations on Education.com's liability.
Warning is hereby given that not all Project Ideas are appropriate for all individuals or in all circumstances. Implementation of any Science Project Idea should be undertaken only in appropriate settings and with appropriate parental or other supervision. Reading and following the safety precautions of all materials used in a project is the sole responsibility of each individual. For further information, consult your state's handbook of Science Safety.
Related learning resources