Science project
Homemade Butter
Grade Level: 3rd - 6th; Type: Food Science
Objective:
To find out how butter is made.
The purpose of this experiment is to separate cream into butter and buttermilk.
Research Questions:
- What does milk look like on a molecular level?
- Why does this structure make it possible to create butter and buttermilk?
- How did ancient people make butter?
- How long does butter last?
- How long does fresh milk last?
- What was butter good for?
- Is butter a healthy food? Why or why not?
Before refrigeration was invented, ancient societies had to discover creative ways to make their foods last longer. Turning milk into butter is one way to help keep it from going rancid. Additionally, butter was easier to transport than liquid milk, and could be brought to nearby towns for trade. Milk is made up of fats and liquids. When it is shaken or beaten for a long time, the solids break apart from the liquids and attract to each other. The end result is a solid fat-based product, butter, and a liquid with a low amount of fat in it, buttermilk. The buttermilk will not last any longer than normal milk, but butter will last for a great deal longer, even left at room temperature.
Materials:
- 1 pint of heavy whipping cream
- A jar
- An electric mixer
Experimental Procedure:
- Pour the cup of heavy whipping cream into a jar that can hold at least 3 cups.
- Place the lid on the jar tight.
- Shake the jar for about 20 minutes.
- Observe the jar as you shake. You will see the cream go through various stages. The cream will turn into whipped cream and then will start to separate into butter and buttermilk.
- Pour the buttermilk out of the jar. You can use it later as a beverage or to bake with.
- Continue shaking and pouring out buttermilk until buttermilk stops forming.
- Once the butter has formed, you will need to wash it to keep it from going bad.
- Scrape the butter out into a bowl and fill the bowl with cold water.
- Knead the butter against the side of the bowl.
- Pour off the water.
- Continue until the water runs clear.
- Place the butter on a piece of wax paper, roll and place in the refrigerator.
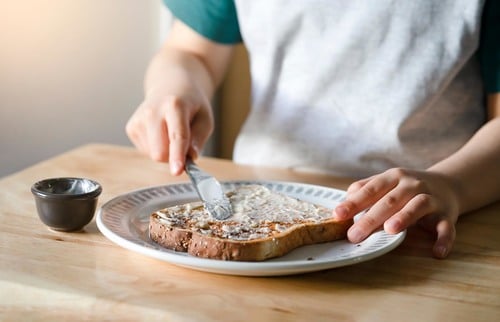
- Enjoy.
- Pour the other cup of heavy whipping cream into a mixing bowl.
- Mix at high speed until you have whipped cream.
- Turn the mixer down to a low speed and continue mixing.
- Observe the cream as it transforms to butter and buttermilk, noting any differences between this process and the previous method of making butter.
- As before, pour out and preserve the buttermilk for later use.
- Continue mixing and pouring out buttermilk until no more is created.
- Fill the bowl with cold water.
- Knead the butter against the side of the bowl.
- Pour off the water.
- Continue until the water runs clear.
- Place the butter on a piece of wax paper, roll and place in the refrigerator.
- Enjoy.
Terms/Concepts: Milk; Cream; Butter; Buttermilk; Fat
References:
Education.com provides the Science Fair Project Ideas for informational purposes only. Education.com does not make any guarantee or representation regarding the Science Fair Project Ideas and is not responsible or liable for any loss or damage, directly or indirectly, caused by your use of such information. By accessing the Science Fair Project Ideas, you waive and renounce any claims against Education.com that arise thereof. In addition, your access to Education.com's website and Science Fair Project Ideas is covered by Education.com's Privacy Policy and site Terms of Use, which include limitations on Education.com's liability.
Warning is hereby given that not all Project Ideas are appropriate for all individuals or in all circumstances. Implementation of any Science Project Idea should be undertaken only in appropriate settings and with appropriate parental or other supervision. Reading and following the safety precautions of all materials used in a project is the sole responsibility of each individual. For further information, consult your state's handbook of Science Safety.

